
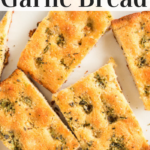
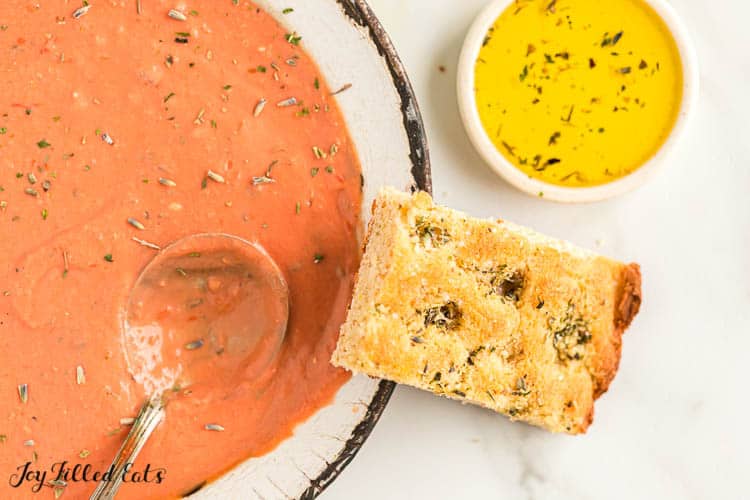
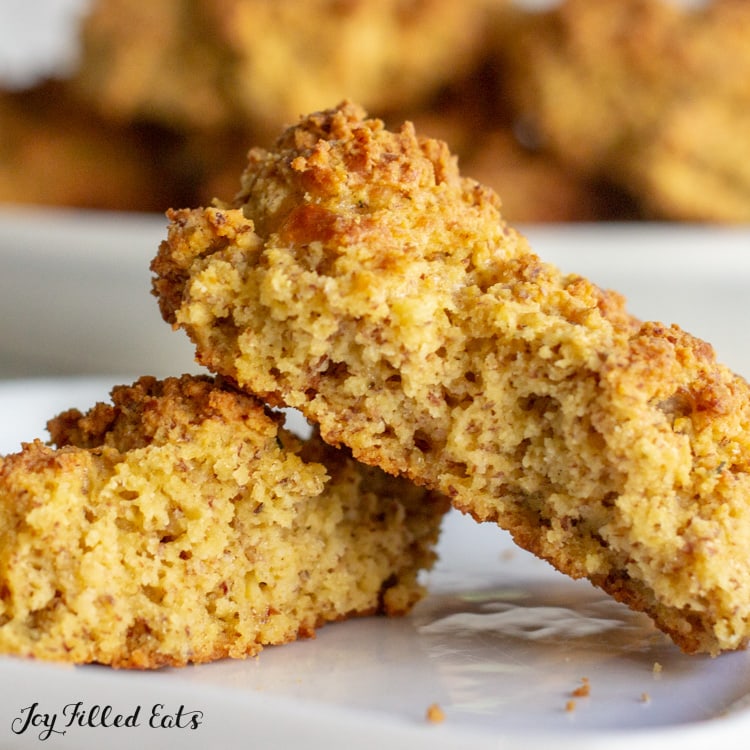
Keto Focaccia


You’re going to be hooked on my keto focaccia because it tastes fantastic. It has a lovely garlic herb butter on top that is heavenly. This keto garlic bread recipe goes with all your favorites entrees. This easy recipe is low carb, keto, gluten-free, grain-free, sugar-free, and Trim Healthy Mama friendly.
Giving up bread was something I knew I didn’t want to do. Why? Because bread is one of the best comfort foods on the planet if you ask me. It’s more than just filling you up; it’s the flavor and texture that makes me drool. Instead of giving bread up, I knew I could come up with some recipes that would work for our diet.
I am pleased to tell you that this keto focaccia blows the old stuff out of the water. I seriously don’t miss it! Plus, knowing that I am eating something that’s much healthier for me, just feels good.
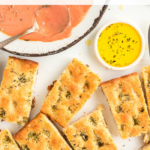
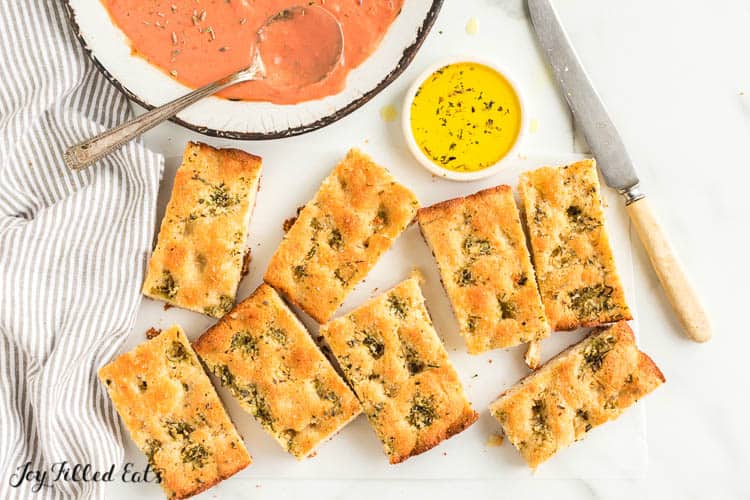
Besides how delicious it is, another reason why I can’t get enough of this keto garlic bread recipe is that it goes with everything. Serve it with your favorite Italian dishes, chicken, steak, or have a quick and simple snack. You can’t go wrong!
In particular, we enjoy this with some Air Fryer Chicken Meatballs or my Keto Tuscan Chicken Casserole.
How To Make Keto Focaccia
Step 1: Begin by preheating the oven to 400 degrees F.
Step 2: While the oven is warming up, combine the butter, crushed garlic, and herbs, then set aside.
Step 3: Prepare a baking tray by greasing it.
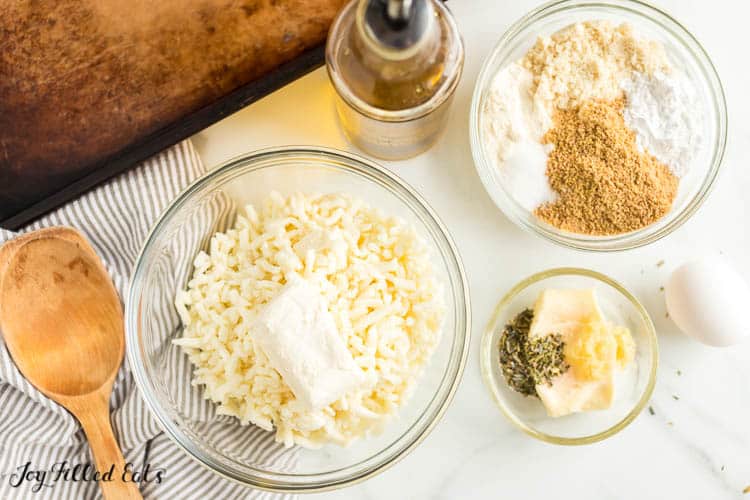
Step 4: Melt the cheese in the microwave by heating for 30 seconds, stirring and repeating until it has melted. Then add in the flour, eggs, salt, and baking powder to the cheese.
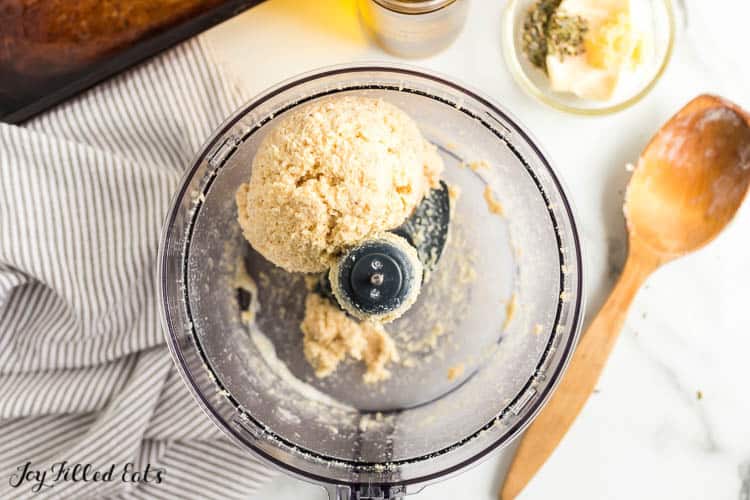
Step 5: Either dump the cheese and flour mixture onto wax paper and knead it, or place the ingredients in the food processor. Mix together well, then form into a large rectangle on your baking sheet or baking stone.
Expert Tip: Keeping your hands wet will make the dough easier to work with when you are trying to shape.
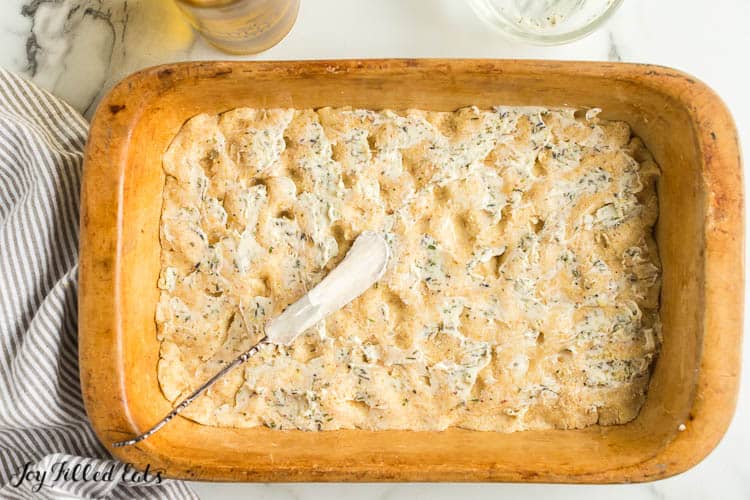
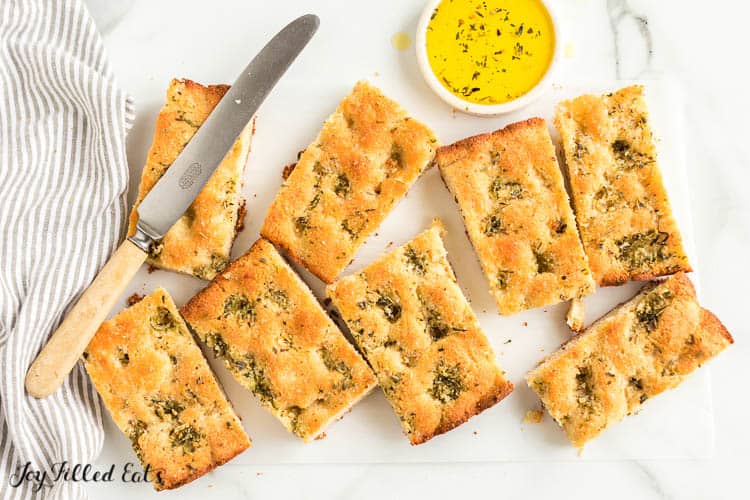
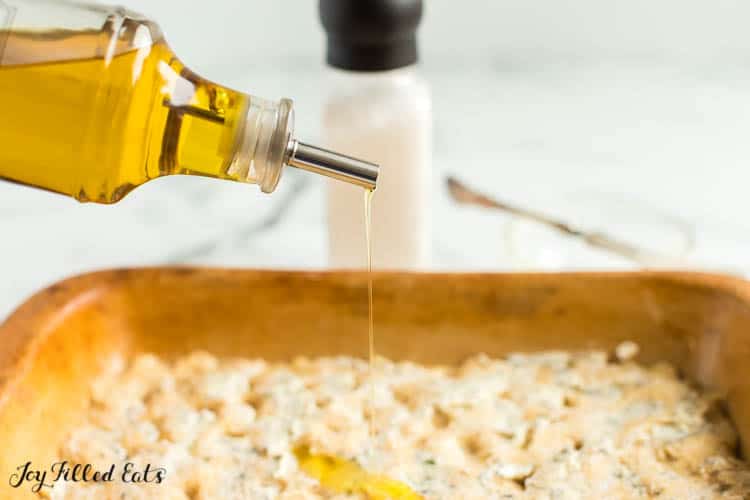
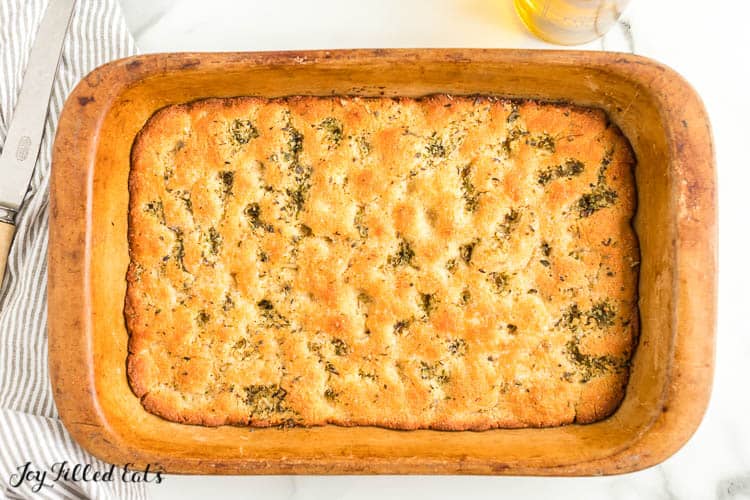
Step 6: Every inch or two, poke a hole with your finger. Then top with garlic butter and salt. Drizzle with olive oil. Bake for 20-25 minutes. It will be golden brown when it’s done.
Common Questions
When To Serve Keto Focaccia
You can seriously serve this keto garlic bread for any and all occasions. Whether people eat a low carb diet or not, they will still enjoy this garlic bread. Here are some occasions that are a perfect reason to whip up a batch.
- Holidays – Everyone will enjoy munching on some of this keto garlic bread. They will be surprised by how much flavor it has.
- Dinner Parties – Even if I wasn’t eating low-carb, I like to have options available for all my house guests. They appreciate it, and everyone loves to eat it.
- Community Events – If you are hosting a community event or fundraiser, it’s nice to have a batch or two on hand for people with food allergies and aversion.
- Busy Weeknights – Because you don’t have to put tons of effort into making this low carb garlic bread, it’s ideal for those busy nights.
- Meal Planning – Sometimes, I like to make a double batch to serve with different meals over a couple of days. It’s nice to bake once and then just reheat.
How Do You Store Easy Keto Bread?
Always store any leftover easy keto garlic bread in the refrigerator. It needs to be kept in an airtight container for best results. Keep in mind that the keto garlic bread tastes at it’s best after it’s first baked. It still tastes great leftover, but won’t be precisely what it was when you first tried it. The cheesy keto bread will last 2 or 3 days in the refrigerator.
How Do I Reheat Low Carb Garlic Bread?
The best way to reheat the keto focaccia bread is by warming it up in the oven. Warm the oven to 350 degrees F. and place it on a baking sheet for 10 or 15 minutes until it’s hot. Another option is to microwave it. Just don’t heat it too fast in the microwave, or it will end up dry and not as appealing. I would recommend warming it at 50% power in the microwave. Just a few seconds at a time, then check. It will warm up pretty fast, so you don’t want to overheat it.
Can I Freeze Keto Bread?
Yes, you can freeze this keto garlic bread. Flash freeze it on a baking sheet, then place in freezer-bags or another airtight container. The garlic bread will last around 1-2 months in the freezer.
To serve, you will need to place in the refrigerator overnight so it can thaw out. Once it’s thawed, you can heat it up and serve.
After you enjoy this recipe make sure to make my Keto Buttermilk Biscuits!
Like what you see? Follow me on Facebook! Love this recipe? Leave a comment & 5-star rating right here! Make sure you don’t miss new recipes by getting email updates!
Want to Save This Recipe?
Enter your email below & we'll send it to your inbox. Plus get great new recipes from us every week!
By submitting this form, you consent to receive emails from Joy Filled Eats
Keto Focaccia
Ingredients
Dough Ingredients:
- 8 oz shredded mozzerella (about 2 cups)
- 2 oz cream cheese
- 1 egg the dough mixes easier if it is room temperature
- 1/3 cup almond flour
- 1/3 cup coconut flour
- 1/3 cup ground golden flax (or additional almond flour)
- 1 tbsp baking powder
- 1/2 tsp salt
Herb Butter Topping:
- 2 tbsp butter softened
- 1 clove garlic crushed (I press through a garlic press)
- 1 tsp herbes de provence (or any combination of dried herbs)
- pinch sea salt
Instructions
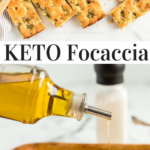
- Preheat oven to 400. Combine butter, crushed garlic, and herbs. Set Aside. Grease a small baking tray or baking stone with olive oil.
- Put cheese in a microwave safe bowl. Microwave one minute. Stir. Microwave 30 seconds. Stir. At this point all the cheese should be melted. Microwave 3o more seconds until uniform and gloopy (it should look like cheese fondue at this point). Mix in the egg, flours, baking powder, and salt. You will need to dump it onto wax paper and knead it by hand to thoroughly incorporate the ingredients or you can do this in a food processor with the dough blade.
- Press into a big rectangle on the baking stone (it helps to wet your hands). Poke holes with your finger every inch or two. Spread on the herb butter. Sprinkle a little sea salt on the focaccia and drizzle with a bit of olive oil. Bake for 20-25 minutes or until golden brown. Serve warm.
Nutrition
Are you craving even more low carb bread recipes? Check out some of these tasty recipes.
- Breakfast Bread With Kale And Bacon
- Keto Bread Sticks
- Broccoli & Cheddar Keto Breakfast Bread
- Low Carb Cauliflower Toast
Originally Published April 13, 2016. Revised and Republished November 6, 2019.


I am trying this recipe tonight. I am so excited to have a foccacia recipe that does not require yeast and time dedicated to rising. I don’t plan ahead that well sometimes and this “quick bread” foccacia is seems just the ticket!!
I would like to try this, however my daughter is highly sensitive to eggs. Is there anything I can substitute for the eggs?
Thank you in advance!
You can omit the egg. They will be denser but it will still work.
I have died and gone to heaven…Focaccia heaven…
This focaccia is wonderful!
I made a few minor changes to your wonderful recipe. I did not have herbes de provence so used fresh rosemary from my yard. I sprayed a glass baking dish with olive oil spray and also the top of the bread instead of butter and garlic. I also baked it on the second from the top rack for only 15 minutes. It was brown and crisp on the top and bottom.
Will definitely be making this again and as Joni said, make into a cinnamon bread too.
Thank you so much!
I struggle with gluten and have an almond allergy. Sounds delicious but i would have to eliminate the almond flour. May try all coconut though.
I do not recommend using all coconut flour. It will be too dry. You can substitute sunflower seed flour for the almond flour.
This bread is a game changer for me and a new favorite for my non carb sensitive family.
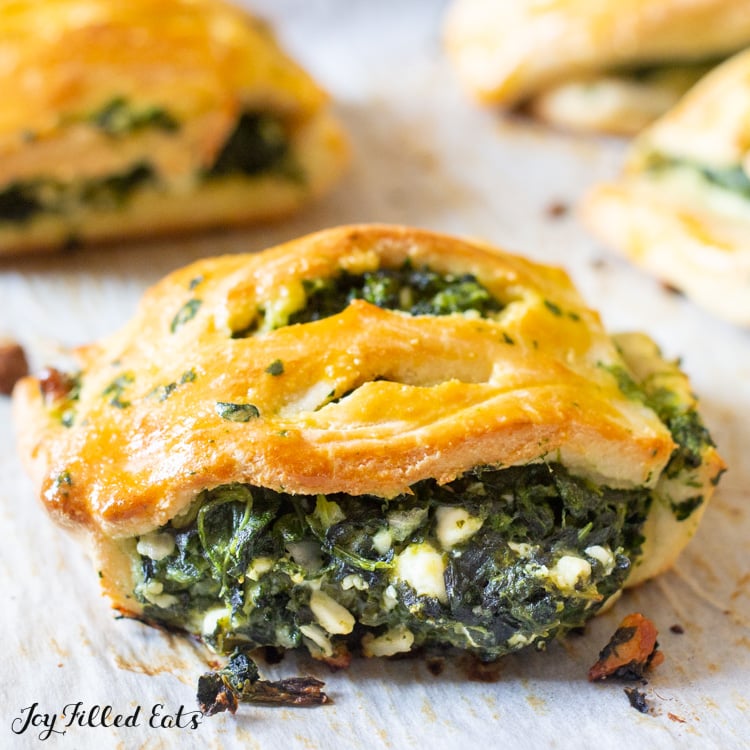
I recently used it as a pizza crust (rolled it out thinner) to rave reviews. Today I stuffed it with Swiss chard (had to reheat in the microwave to get the edges to bind together) and I can see meat pies on the horizon. I even think the basic recipie could be used to make a sweet bread with cinnamon and stevia maybe pumpkin spice…just saying this recipe is a game changer for me. Thank you
In reading through this recipe, I do not see an actual measurement for the flours and flax. 1/3 of each how much? Thank you.
I clarified so it’s less confusing. It’s 1/3 cup of almond flour, 1/3 cup coconut flour, and 1/3 cup ground golden flax. Those make up 1 cup of my baking mix.
Is there no leavening in this recipe, or am I just overlooking it. Thanks.
I did not use any leavening. You can add 1 tsp of baking powder to make it less dense if you prefer.
I can’t find where the nutritional info is. What is the carb content on these? Thanks!
Hi Ashley, I just added a nutrition box for this recipe 🙂
I just need to tell you … this is a wonderful recipe! I had a friend over and we made this; we both loved it!
Thanks, Taryn! I’m looking forward to trying many more of your recipes.
Quick question: Are you Trim Healthy Mama? If so, I’d like to look up your cookbook. 🙂
I have an allergy to dairy, the only option I could think of would be coconut milk, Collegen or gelatin and maybe some ACV and or Nutritional yeast for flavor. does this sound like a good direction to pursue? I’m most unsure about the collegen. do you think I need to use gelatin to create the cheesy consistency or should I go with collegen and gluccie? i’m just not familiar enough with the properties of these ingredients. thanks for any advice you can offer.
I would look for a low carb dairy free bread recipe instead. The cheese is necessary in this one. Good luck!
Looks so good! I am confused at the size. In the directions on number 1 you mention small pan. Then in number 3 you mention big pan? What size did you use? Could I double this for a larger pan?
Sorry, I need to fix that. I used a small pampered chef pan. It’s about 8 x 11. Yes, you can double this for a bigger pan.
I took this out of the oven about 10 minutes ago. I was trying to wait til dinner to try it, but I couldn’t wait any longer. It just smelled too good. It is DELICIOUS!!!!!!! I am serving it with the Lazy Lasagna from the Trim Healthy Mama cookbook. That with a salad and BAM dinner is done! Thank you for yet another wonderful recipe, Taryn!
You are welcome 🙂 and thank you for the great review!
Hi, I have a question about how you baked it. Did you put it directly on a pizza stone or use a pan placed on the stone? The photo looks like a pan but maybe your stone looks like a pan? Also, do you preheat the stone? I usually do for pizza but I want to make this EXACTLY the way you did because I’m dying for a decent foccacia bread but don’t want to waste expensive ingredients. I’ve been disappointed with crispness and texture so I’m trying to duplicate your recipe – the photos of the finished product look like a crispy (or at least firm) crust on the bottom.
Second question – I’ve read that the type of mozzarella matters for pizza crusts so I think it may matter with this as well. Did you use pre-shredded or shred it yourself. Apparently this can matter lol.
Hi Joni, my stone has a rim. I did not preheat it. I just pressed the dough on it before placing in the oven. I did bake it on the very bottom rack. I think that’s how the bottom got browned.
I shredded my own mozzarella this time but I have used pre-shredded in this type of dough successfully.
Hope that helps!