
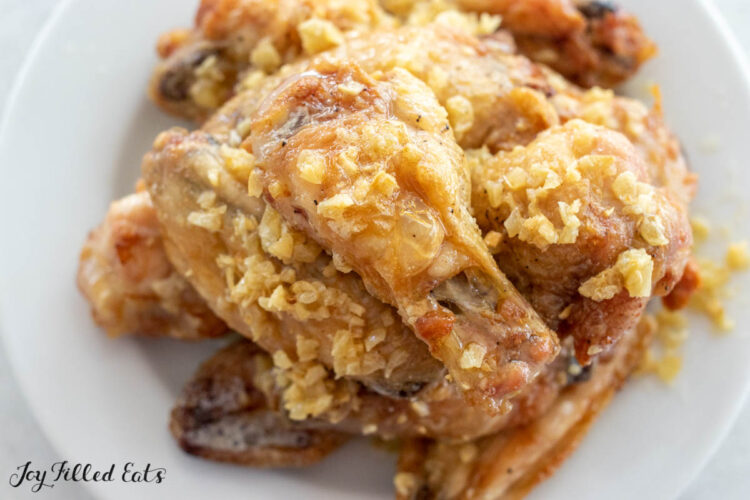
Garlic Butter Chicken Wings


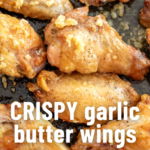
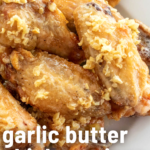
These Garlic Butter Chicken Wings are the crispiest, most flavorful wings you can imagine. You’ll love this buttered chicken wing recipe as a perfect appetizer or main dish.
If you’re a fan of crispy wings, don’t miss out on this recipe. Since they’re cooked in both the oven and then tossed in garlic butter in a hot skillet, the crispiness in every bite is perfection.
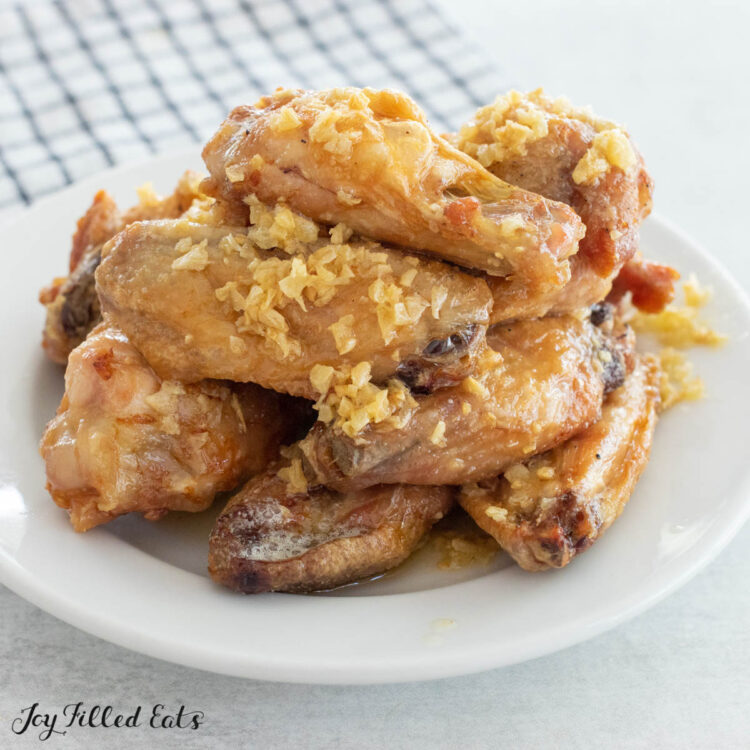
What I love about making this chicken wings recipe is that they don’t have a heavy breading that overpowers the rest of the flavors. It’s a light and crispy crunch that leads you right into tender and juicy chicken. Serve with some carrot and celery sticks for the perfect game night snack!
This easy appetizer is also naturally gluten-free, low-carb, and keto-friendly!
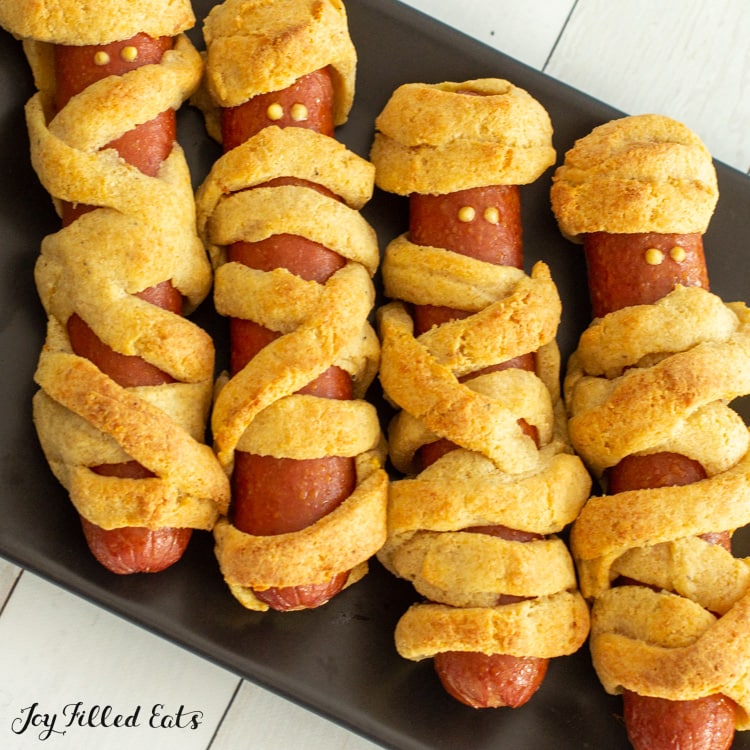
I’ve made this buttered chicken wings recipe for a Sunday dinner or as a fun appetizer for football game-watching and parties. We love to make a spread of wings, Keto BLT Dip, Chicken Bacon Ranch Pizza, and a few other fun apps!
Ingredients
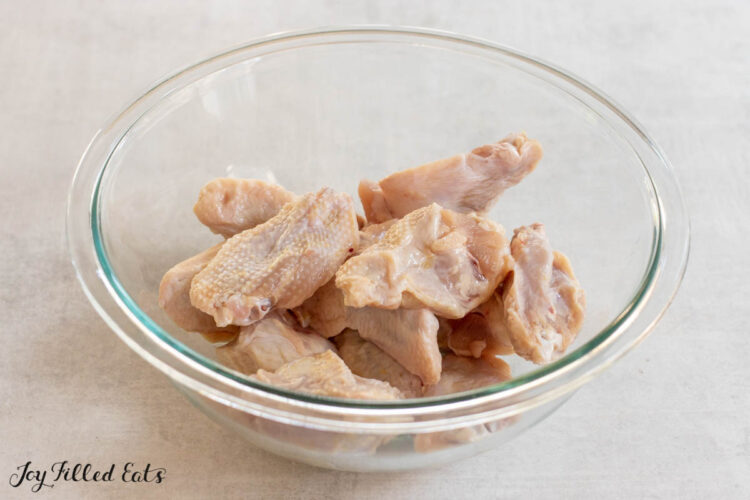
- Chicken wings – Try to find wings that are meaty! You can buy fresh or frozen for this recipe. Defrost frozen wings before cooking them.
- Salted butter – I always use salted butter because it adds that extra pop of flavor.
- Garlic – I prefer using fresh minced garlic from garlic cloves. In a pinch, garlic powder also works well to stick to the chicken wings.
- Salt – Yep, you’ll need a little bit more salt! We prefer kosher salt.
- Black pepper – To taste.
See quantities in the recipe card.
How to Make Garlic Butter Chicken Wings
1️⃣ Prep
Preheat the oven to 425. Spray the rack liberally with cooking spray so the wings don’t stick. Pat the chicken wings dry with a clean paper towel to get rid of excess moisture.
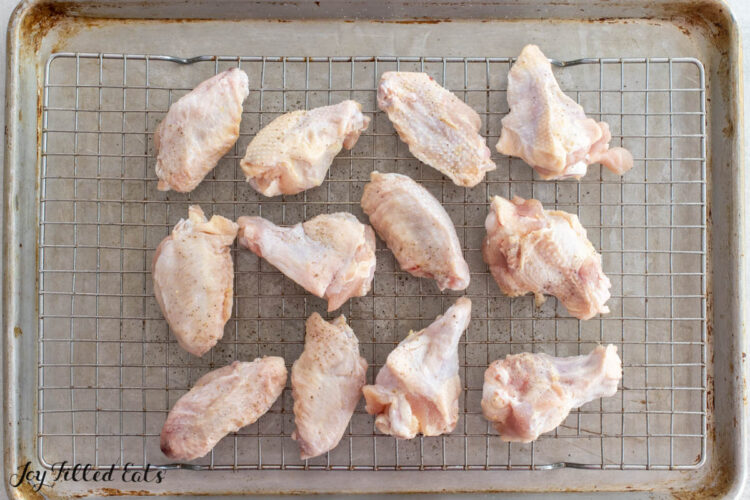
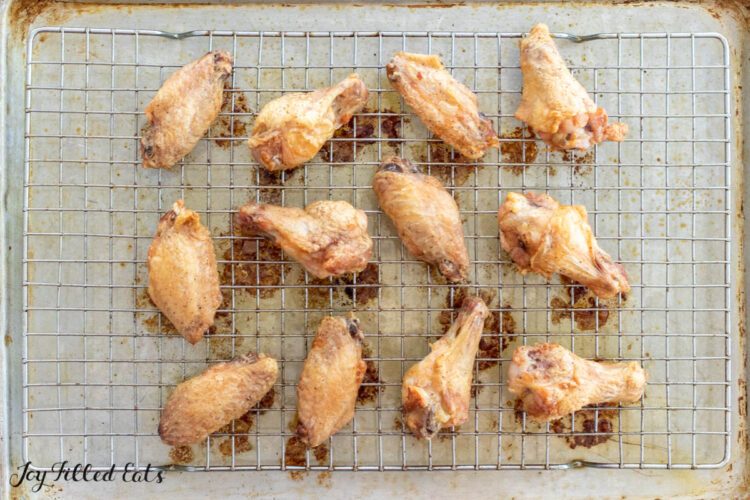
2️⃣ Bake the Wings
Put the wings on a rimmed baking sheet with a metal cooling rack on top. Make sure your cooling rack is oven-safe before you try this. Bake for 40 minutes. You want them to look deep golden brown, and the skin to be crispy.
👉 Tip: To save on cleanup, you can line the pan under the rack with parchment paper.
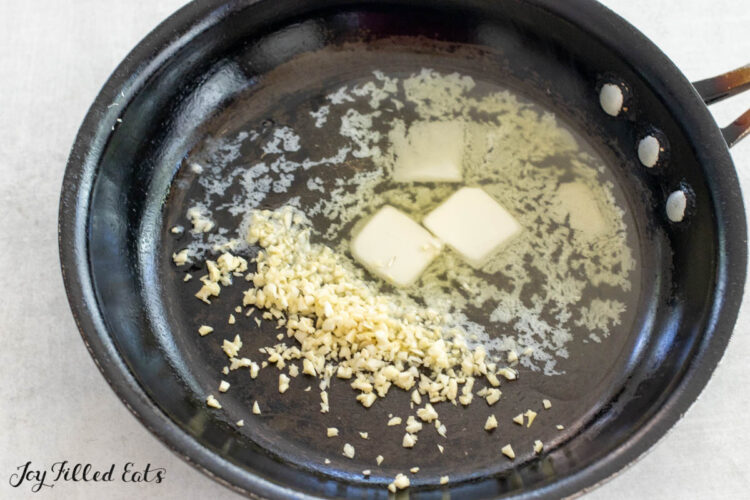
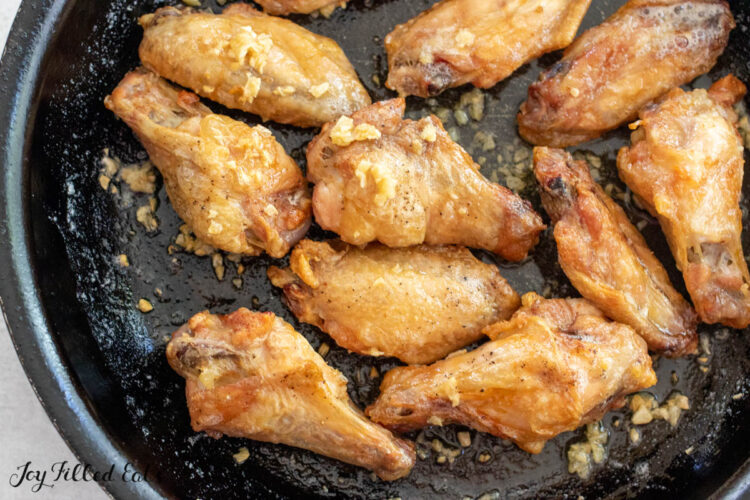
3️⃣ Cook the Garlic in Butter
During the last five minutes of cooking time, heat a medium skillet over medium-low heat. Add the butter and fresh garlic. Cook for about 5 minutes until the garlic has softened and begins to turn golden brown.
4️⃣ Toss the Wings in Garlic Butter
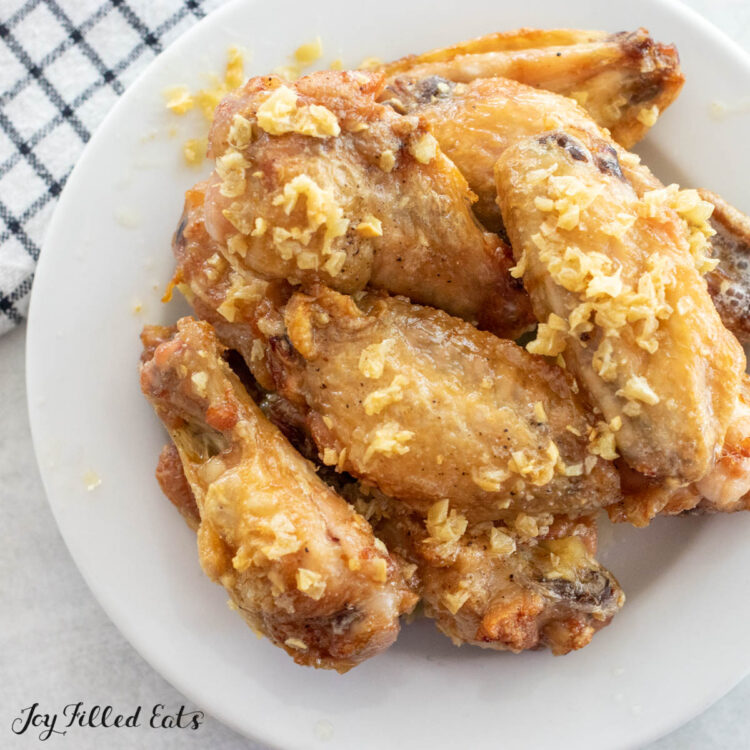
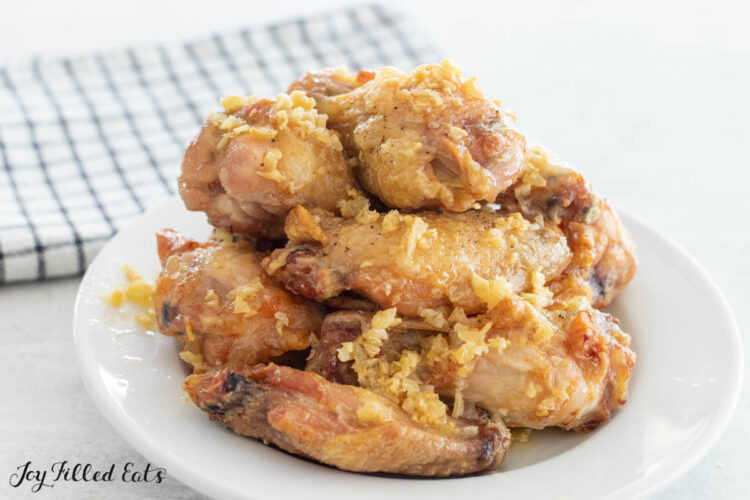
Toss the hot wings immediately in the garlic butter mixture. Transfer the garlic butter wings to a serving plate and pour the rest of the garlic butter sauce on top of the wings. I’ll also have some extra garlic butter dipping sauce that I make up for people who like to dip their wings and then eat.
Do you put seasoning on wings before or after cooking?
The debate over whether to season chicken wings before or after cooking is a long-standing one. Some argue that seasoning the wings before cooking helps to lock in the flavor, while others contend that seasoning after cooking allows for a more even flavor. There is no definitive answer, and it comes down to personal preference.
However, if you are looking for maximum flavor, it is generally advisable to season the wings both before and after cooking. This is why I add salt and pepper before cooking and the garlic butter after.
Storage
To store leftover wings let them cool down all the way, and then store leftovers in an airtight container in the refrigerator. Some people also store them wrapped in aluminum foil, and the reason for this is so that they can then just add the foil packet right into the oven to reheat low and slowly. Reheating in the microwave works but isn’t the best option.
Variations
- Use a different sauce – Garlic chicken wings are great, but if you want to change it up, you can. Add hot sauce instead to turn these into hot and spicy buffalo wings.
- Add parmesan cheese – If you want to make garlic parmesan chicken wings, just add some parmesan cheese to the dish! Or make my special Buffalo Wild Wings Parmesan Garlic Sauce.
- Spices – Fresh parsley, lemon zest, or freshly squeezed lemon juice is delicious on these wings and drumettes. Red pepper flakes or cayenne pepper add some heat. Onion powder or paprika boosts flavor.
- Air Fryer – Try my Air Fryer Frozen Chicken Wings recipe.
Common Questions
How do you get crispy skin on wings?
You can do a few things to ensure crispy skin on your wings.
First, make sure the skin is dry before cooking. You can pat the wings with a paper towel to remove any moisture.
Second, cook the wings at a high temperature. This will help to crisp the skin.
Third, use a baking sheet or wire rack to cook the wings. This will allow hot air to circulate the wings and help to crisp the skin.
Finally, put them in a single layer on the wire racks and the hot pan. When you’re frying them, they need space in the skillet so that they’re not touching to be able to crisp up on all sides.
How long does it take wings to bake at 400? At 425?
At 400 degrees, it usually takes about 25-30 minutes for wings to bake so that they reach 160. However, this can vary depending on the size and thickness of the wings. For example, if the wings are large and thick, they may take a bit longer to bake. Additionally, if you’re looking for crispy skin on your wings, you may want to cook them for a few minutes longer.
I like my wings super crispy. So I shoot for baking them at 425 for 40 minutes. Since wings are dark meat, they don’t dry out, and the skin is very crisp.
👉 Tip: If you have wings without much meat on them, they will cook a lot faster. You should start checking them at the 15-20 minute point.
How do you know when chicken wings are fully cooked?
Using a meat thermometer is the most accurate testing method. Once the internal temperature of the wings is 165 degrees, this means that the chicken is cooked all the way and safe to eat. For the skin to get to crispy perfection, they may need to cook longer.

Want to Save This Recipe?
Enter your email below & we’ll send it to your inbox. Plus get great new recipes from us every week!
By submitting this form, you consent to receive emails from Joy Filled Eats

Garlic Butter Chicken Wings
Ingredients
- 1 lbs chicken wings
- 4 tbsp salted butter
- 4 cloves garlic
- 1/2 tsp salt
- 1/4 tsp black pepper
Instructions
- Preheat the oven to 425. Spray a metal cooling rack on a rimmed baking sheet with cooking spray. Make sure your cooling rack is oven safe before you try this.
- Put the wings on the prepared tray. Sprinkle with salt and pepper. Cook for 40 minutes.
- During the last five minutes of cooking time heat a medium skillet over medium-low heat. Add the butter and garlic. Cook for about 5 minutes until the garlic has softened and begins to turn golden brown.
- Toss the hot wings immediately in the garlic butter. Serve.
Notes
Nutrition
Like what you see? Follow me on Facebook and Instagram! Love this recipe? Leave a comment & a 5-star rating right here! Make sure you don’t miss new recipes by getting email updates!
Originally Published September 29, 2022. Revised and Republished December 31, 2025.


Delicious! These wings were easy to make and were a hit at our house!
Haven’t actually tried this yet, but it sounds wonderful. Only one problem with your recipes and that is they are geared for a big family. It’s hard to downsize these for a one-person household.
Hi Pat, the servings are adjustable. When you are looking at the recipe card the number under Servings is clickable. You can adjust the number of servings from there. Here is an example. I cut the recipe you are looking at in half to only use 1/2 pound of wings.
It looks so delicious. Those little crispies on the wings is garlic? I expected some type of light breading when I saw those. And that color is beautiful.
Love what you do! Thank you!
Yup! That’s the garlic.